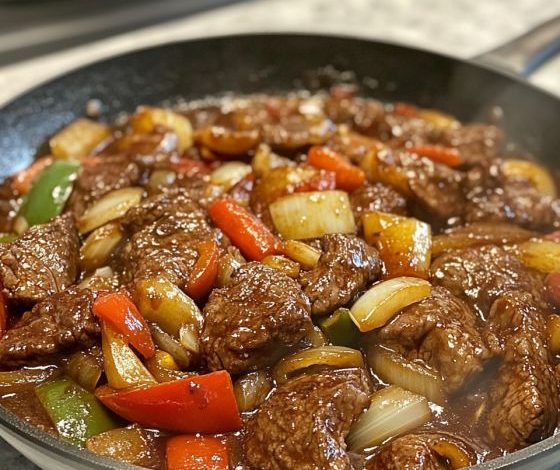


Cheesy Ground Beef Hissy Fit Dip: A Crowd-Pleasing Party Classic
When it comes to party appetizers, dips are always the first to disappear. There’s just something irresistible about a creamy,...
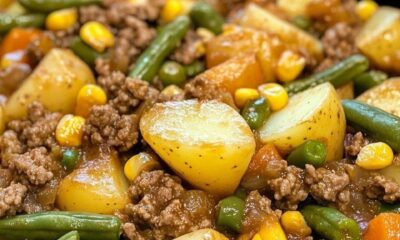

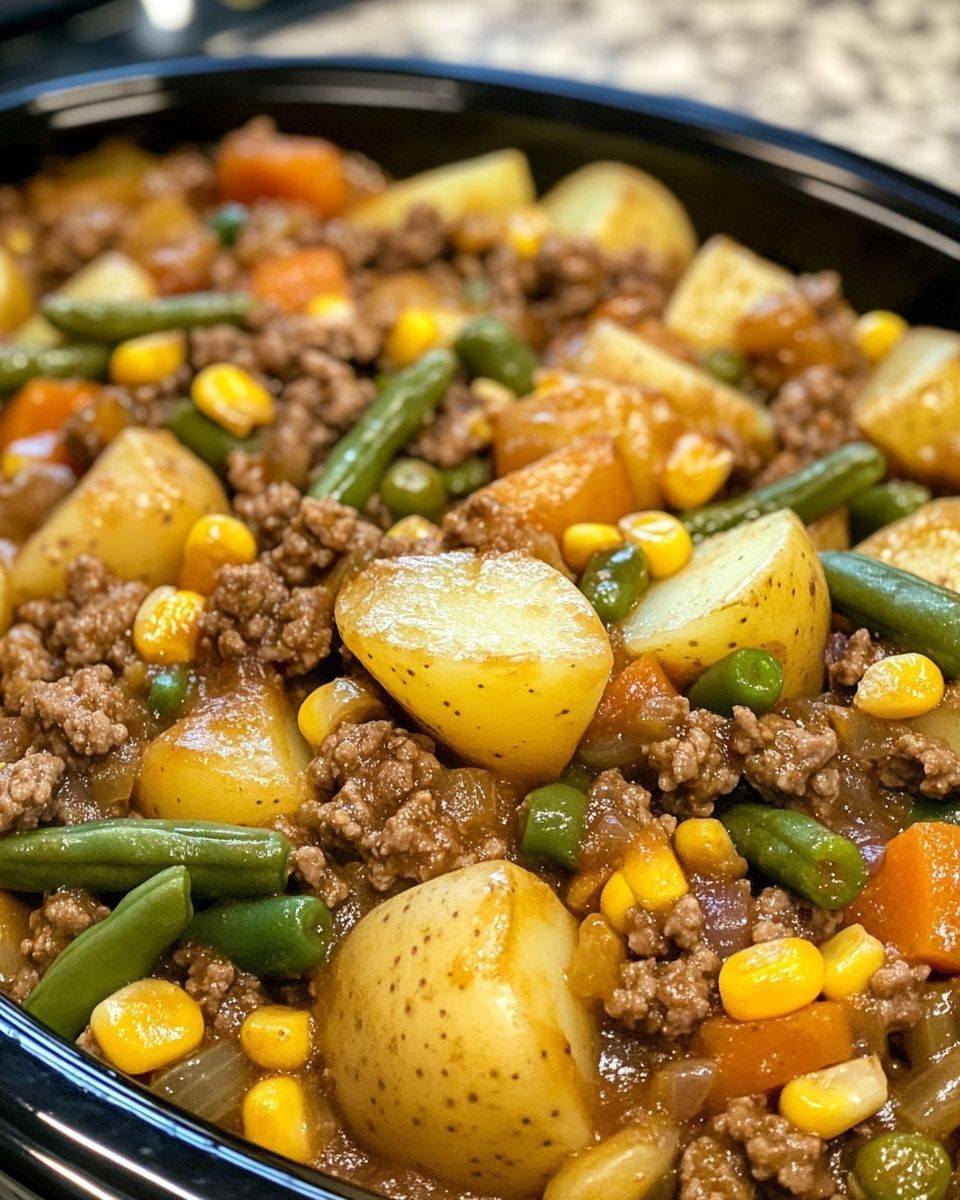
Amish Harvest Casserole: The Ultimate One-Pot Comfort Food
There is something deeply comforting about a meal that feels like it has been passed down through generations, carrying with...


One-Pot Broccoli Cheese Orzo – Creamy, Comforting, and Easy
When life gets busy, there’s nothing better than a one-pot meal that delivers both comfort and flavor. This One-Pot Broccoli...


Raspberry Swirl Cookies – Buttery, Sweet, and Tangy
Few things say “homemade comfort” quite like the aroma of fresh cookies baking in the oven. These Raspberry Swirl Cookies...
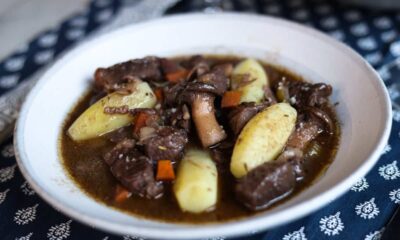

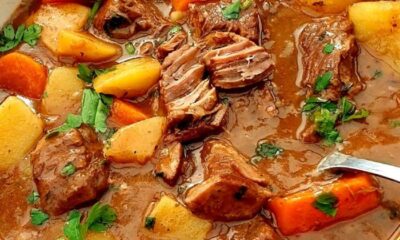
Classic French Beef Bourguignon Recipe – Slow Cooked to Perfection
Traditionally, Beef Bourguignon was considered peasant food. Families often used tougher cuts of beef that required long, slow braising to...
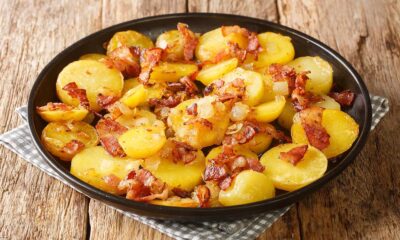

Crispy Oven Fried Potatoes and Onions with Bacon
When it comes to hearty, satisfying side dishes, few things can compete with crispy oven fried potatoes and onions. This...


Bacon Cheeseburger Rice Recipe – Easy One-Pan Weeknight Dinner
If you love the flavors of a juicy bacon cheeseburger but don’t want the hassle of firing up the grill,...


Slow Cooker Beer Bratwurst with Onions and Peppers
There is something incredibly comforting about walking into the kitchen and being greeted by the rich aroma of bratwurst slowly...


Cheesy Texas Toast – Easy, Crispy & Irresistible
If you’re craving a quick and satisfying snack, Cheesy Texas Toast is the answer. With its buttery garlic base, golden...


Georgia’s Smoky Loaded Baked Beans – The Ultimate BBQ Side Dish
When it comes to classic Southern comfort food, nothing says “family gathering” or “backyard barbecue” quite like a big pan...
-
 Recipes11 months ago
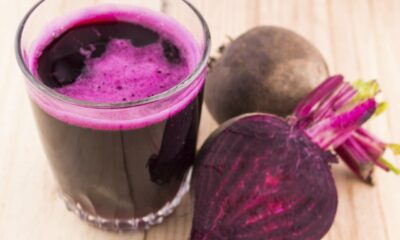
Beetroot Smoothie for Blood Pressure and Detoxification: A Natural Boost for Energy and Liver Health
-
 Recipes8 months ago
Rustic Polish Pork Goulash – Slow-Simmered Comfort in a Bowl
-

 Recipes11 months ago
Miso Soup for Gut Health and Immunity: A Japanese Healing Staple
-

 Recipes11 months ago
A Chinese Doctor Told Me This: The Healing Power of Pumpkin Soup for Your Heart, Blood Sugar, and More
-
Recipes8 months ago
Georgia’s Smoky Loaded Baked Beans – The Ultimate BBQ Side Dish
-

 Recipes8 months ago
Traditional Szarlotka Recipe – The Classic Polish Apple Pie with a Buttery Crumble Topping
-
Recipes8 months ago
Cheesy Texas Toast – Easy, Crispy & Irresistible
-
Recipes7 months ago
Amish Harvest Casserole: The Ultimate One-Pot Comfort Food